 |
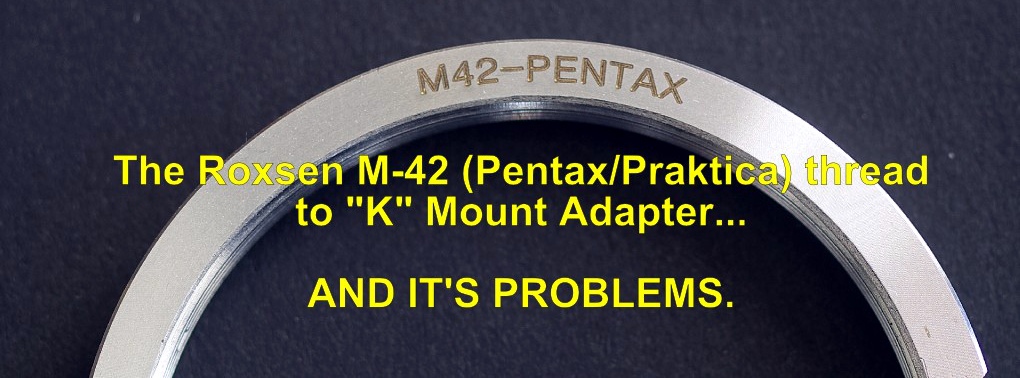
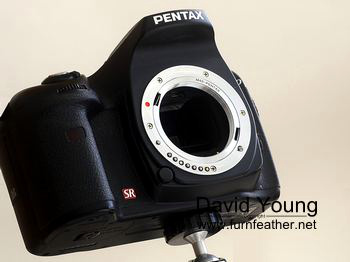
The
goal, is to get
an old, screw mount lens - any brand, so long as it has the
M42
(commonly known as the Pentax/Practika thread), on to a modern (film or
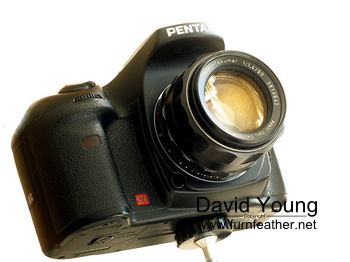
digital) "K" mount camera. Here we show the Super-Takumar 50/f1.4 lens (introduced in 1965) mounted on a modern, Pentax 10d Digital camera. Infinity focus is maintained, and the system works perfectly. Focusing is, of course, only manual and auto-exposure is only possible in the "A" (Aperture Priority) mode, and with stop-down metering. |
 |
For
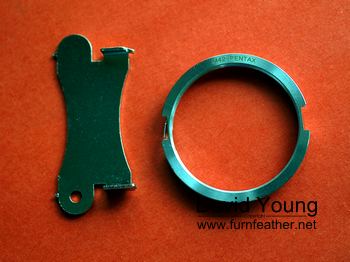
this, I chose the Roxsen adapter, available
on eBay. I have found Roxsen adapters to be consistently well made ... something I cannot say about other brands I have tried. This Roxsen adapter is no exception ... in fact it's design and manufacture is a step above even Roxsen's usual standards. The problem lies with the removal tool or "key". The Key (on the left) is apparently made for several adapters, and it works poorly with this particular adapter. Let me show you.... |
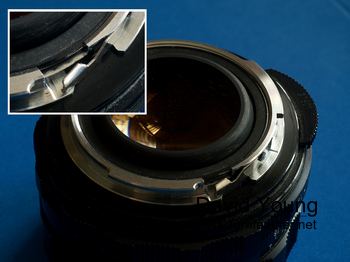 |
First, mount the adapter on the lens and then mount the lens on the camera. Use care when you mount the lens, so that the spring clip (latch) is compressed when you line up the red dot on the adapter to the red dot on the lens mount. This can be accomplished by canting the lens a wee bit, as you insert the lens in the bayonet mount. The insert photo shows the spring clip (latch) in more detail. |
 |
You
will find it fits perfectly and infinity
focus is
maintained. You remove the lens, by unscrewing it. You will find the adapter remains behind, so you can mount several M42 threaded lenses, one after the other. When you are done, remove the last lens by uncrewing it. |
 |
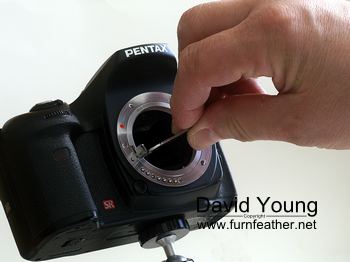
Here's where it gets tricky, and where some "custom bending" comes into play. Insert the key, so that the small "nib" end is on your left, as you face the camera, and ensure that the nib presses on the spring clip, to release the adapter from the bayonet. This requres some fiddling and can be difficult, as the other end may catch on the camera's bayonet flange on the other side. |
 |
/When it all starts to move, rotate the adapter counter-clockwise, until it stops. |
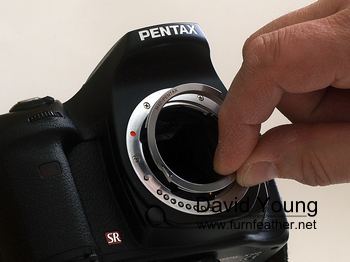 |
Remove the key and then, using your fingers, gently remove the adapter. Use care not to touch the mirror! |
 |
So
far, so good. The problem is that the removal tool, or "key", is too wide for the job. If you press the key to the right, so that the nib releases the catch, the other end jams up against the bayonet flange and makes it very difficult, if not impossible to rotate. The first part of the solution is to carefully bend the "nib" inwards a bit, which allows it to press the spring catch inwards, without having to press the entire key to the right. |
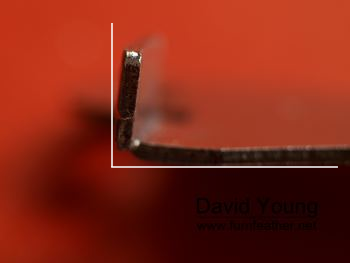 |
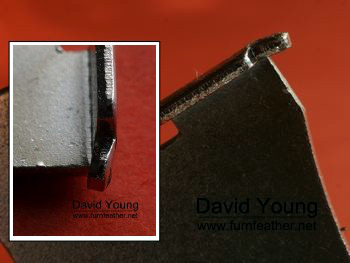
This
image shows the other end, and the careful
bending which has been applied. Originally, it was straight,
as
indicated by the white lines, with a square bend to make the "bar" more
in line with the curvature of the lens mount. My version still sticks a bit, as you rotate the adapter out of the camera. But, a bit more "selective bending" will probably cure that. But, for now, these modifications allow the adapter to be removed easily ... something not possible when the key was new. |
 |
 |
 |
 |
|
Let sports & wildlife photographer, David Young, help you move from being a taker of snap-shots to a maker of super-shots. Behind a camera for over 50 years, David has beena guest speaker or presenter at photographer's conventions in Germany, the USA and, of course, Canada. Now, this wealth of knowledge and experience is available in a series of e-books for almost any e-reader (other than a Kindle). Click on any e-book cover, for more information. Thanks for
reading.
Besides the Nook, Sony & Kobo
e-readers, you can read these e-books on any iPad, iPhone,
Android Tablet or Window's computer, using free aps from Kobo.com. |
|||
--------------------------------------------